

Picture this: you are trying to unload the dishwasher, but someone is sitting at the island eating breakfast, and now the walkway is completely blocked. Or you host a dinner party, and your guests are bumping elbows because the seating area is just a bit too tight.
A kitchen island is the social and functional anchor of your home. When you get the size right, cooking and entertaining flow effortlessly. When you guess the measurements, it quickly becomes a daily frustration.
Before we look at the exact numbers, here is the golden rule of kitchen design: always measure your kitchen first, not the island. A well-proportioned island should take up roughly 10% to 15% of your total kitchen floor area. Any larger, and the room starts to feel cramped.
If you want to maximize both space and style, combining your island with a dining table is one of the smartest upgrades you can make.
Here is an honest, practical guide to the best island combo designs, the exact dimensions you need to pull them off, and a few structural secrets most showrooms will not tell you.
Top Innovative Island & Dining Table Combos
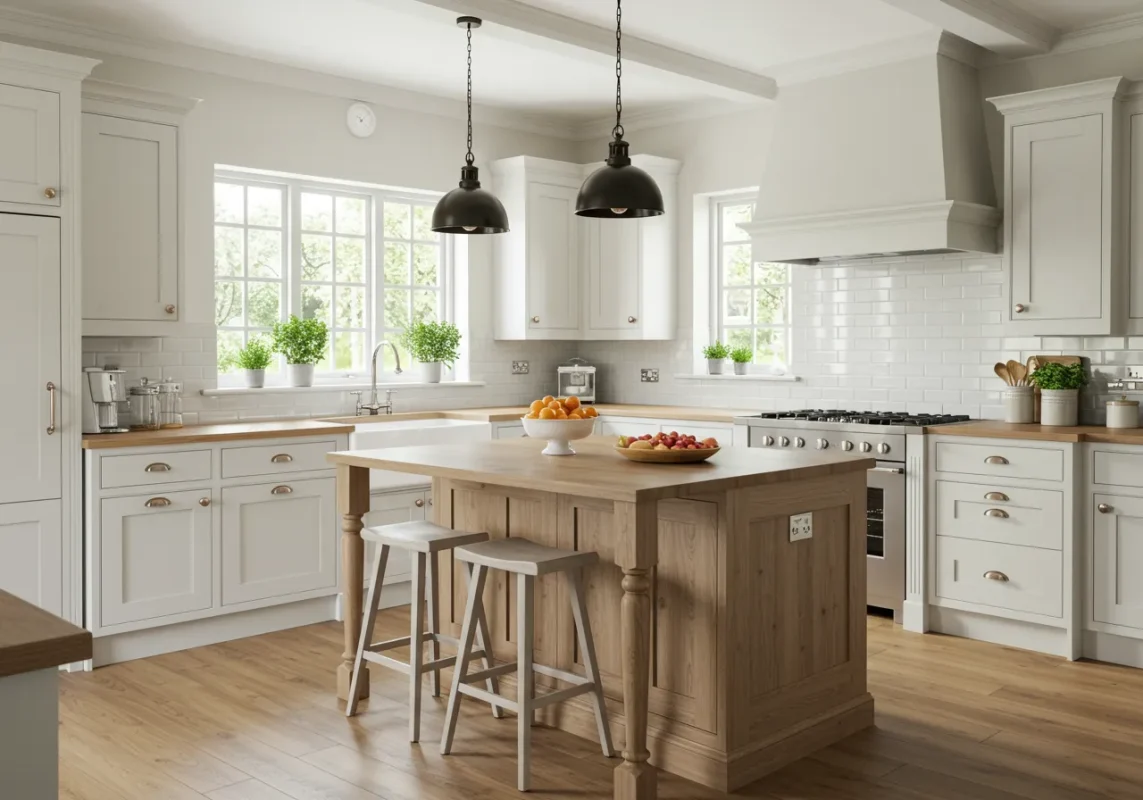
If you are tired of the standard rectangular block, blending your prep space with a dedicated dining area creates a dynamic, multi-functional hub. Here are three ways to do it right.
The Waterfall Extension
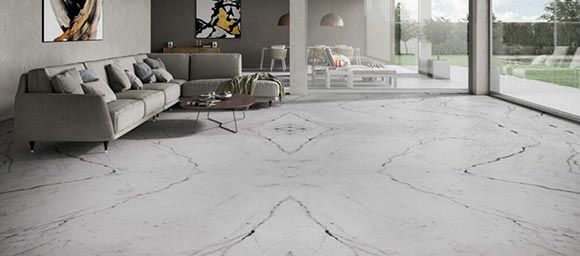
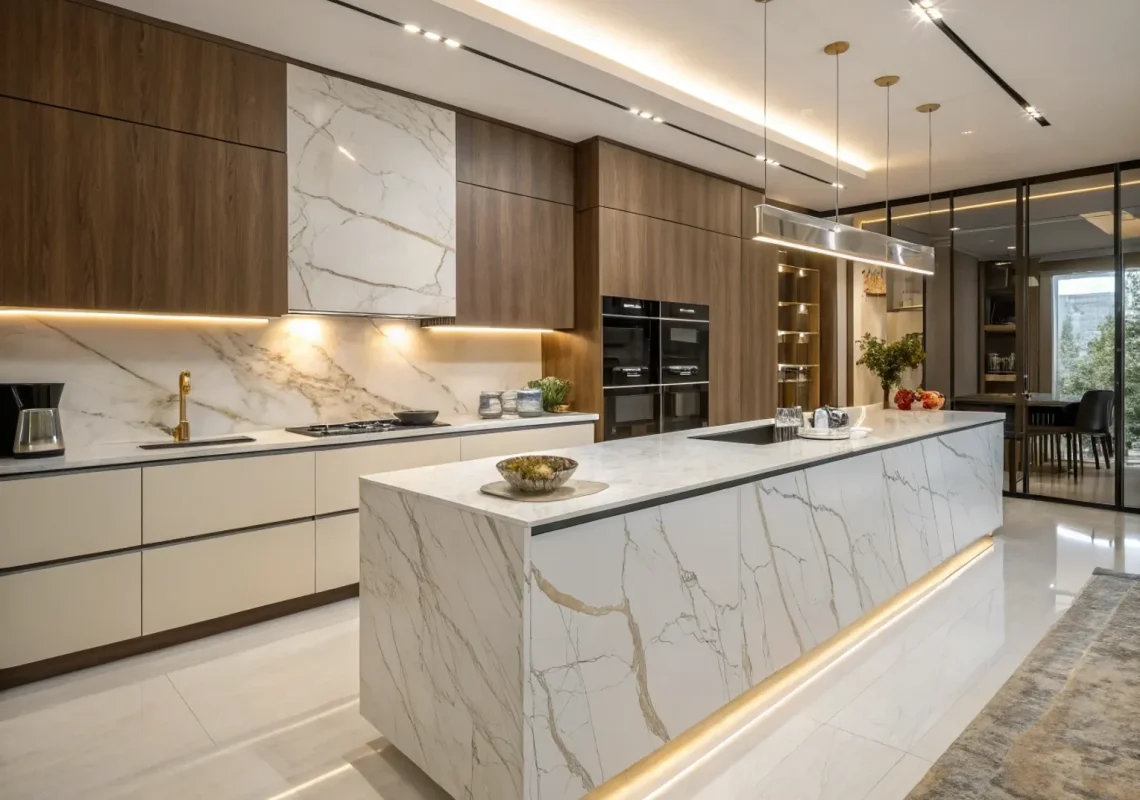
This is the pinnacle of modern luxury. A continuous surface of marble or quartz flows across the island and drops seamlessly down to a lower, attached dining table. It visually separates the standing prep area from the seated dining zone while maintaining a flawless, unified aesthetic.
The Slide-Out Hidden Table
If you are designing for a compact urban apartment or a smaller layout, flexibility is everything. A heavy-duty slide-out table stays completely hidden inside the island cabinet body during the day. When it is time for dinner, you simply pull it out to instantly seat three or four people without permanently sacrificing your floor space.
The L-Shaped Booth Seating
For families who want a cozy, diner-style feel, wrapping upholstered bench seating around the back of the island is a game-changer. You pair the built-in booth with a freestanding dining table and a few chairs on the opposite side. It maximizes your seating capacity and keeps the kids comfortable and close while you cook.
Related article: 2026 Kitchen Design Trends: Guide to Materials & Custom Cabinetry
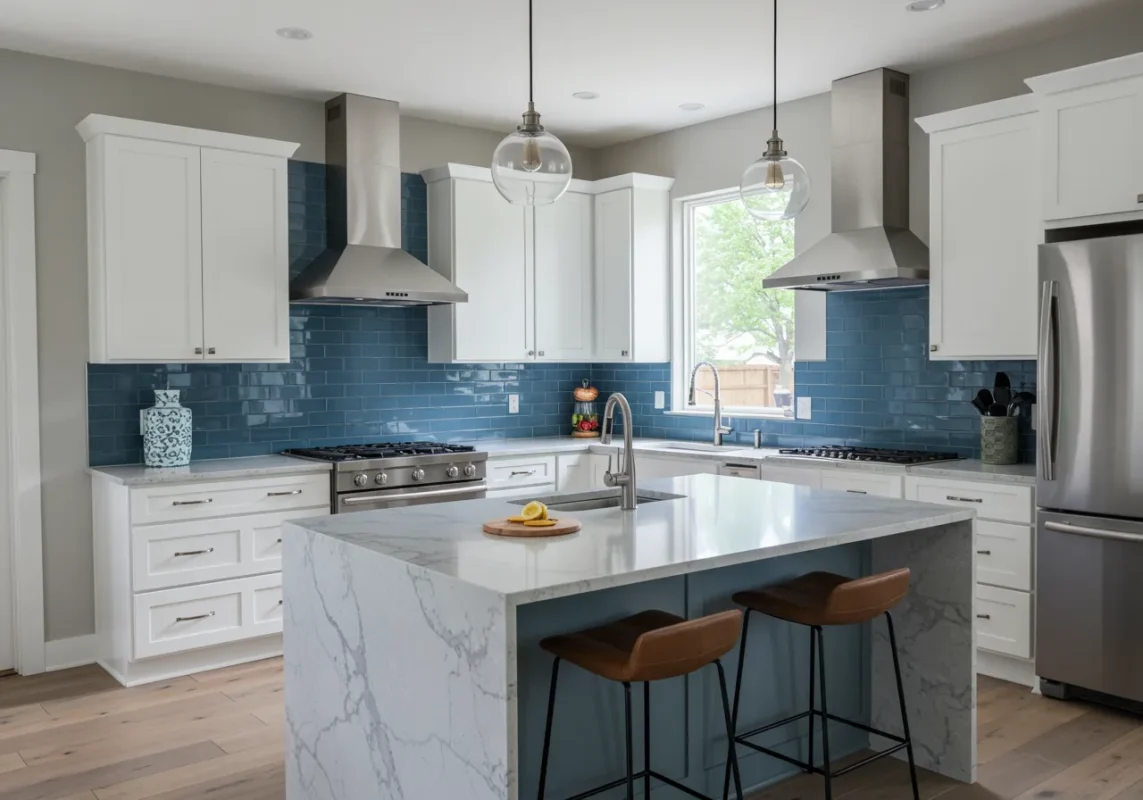
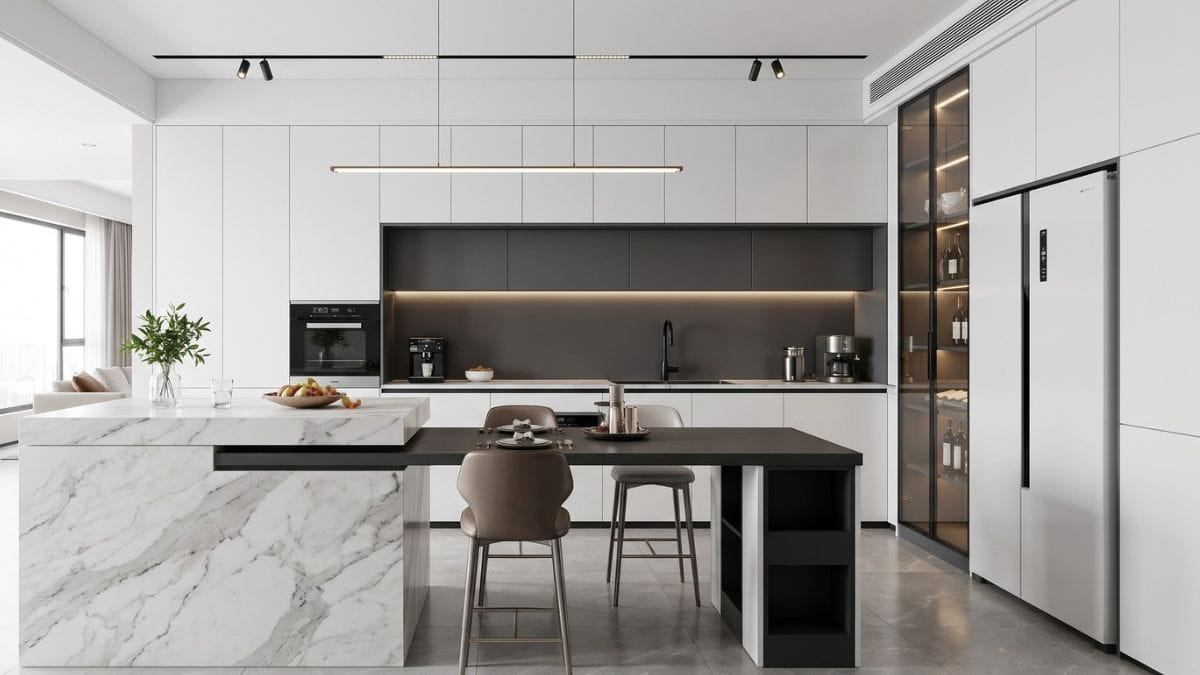
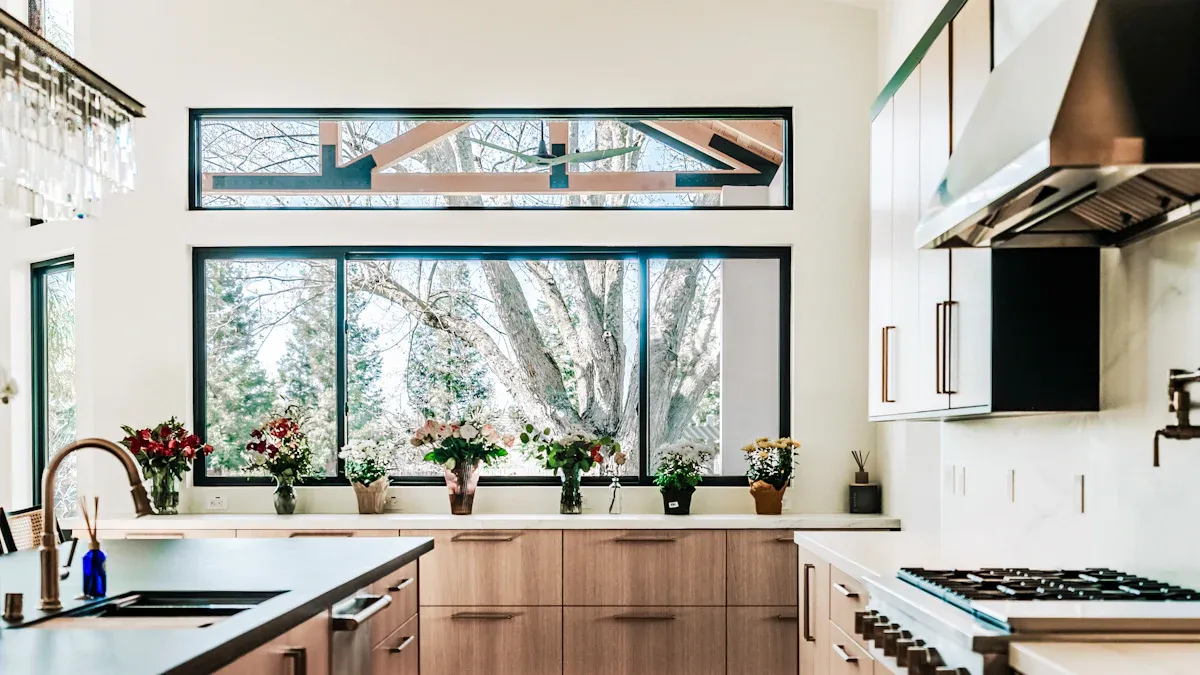
The Master Carpenter’s Rulebook: Essential Dimensions
While those combo designs look effortless on a mood board, making them work in real life comes down to strict math. Here are the standard dimensions you need to know.
| Aspect | Imperial (US) | Metric (Global) |
| Minimum Island Size | 24″ × 48″ | 60 × 120 cm |
| Average Island Size | 36″ × 78″ | 90 × 200 cm |
| Prep/Counter Height | 36″ | 91 cm |
| Dining Table Height | 30″ | 76 cm |
| Bar Seating Height | 42″ | 107 cm |
Seating, Spacing, and the “Stool Mistake”
There is nothing worse than eating shoulder-to-shoulder, except perhaps banging your knees against the cabinet wall. For comfortable seating, assign exactly 24 to 30 inches of width per person.
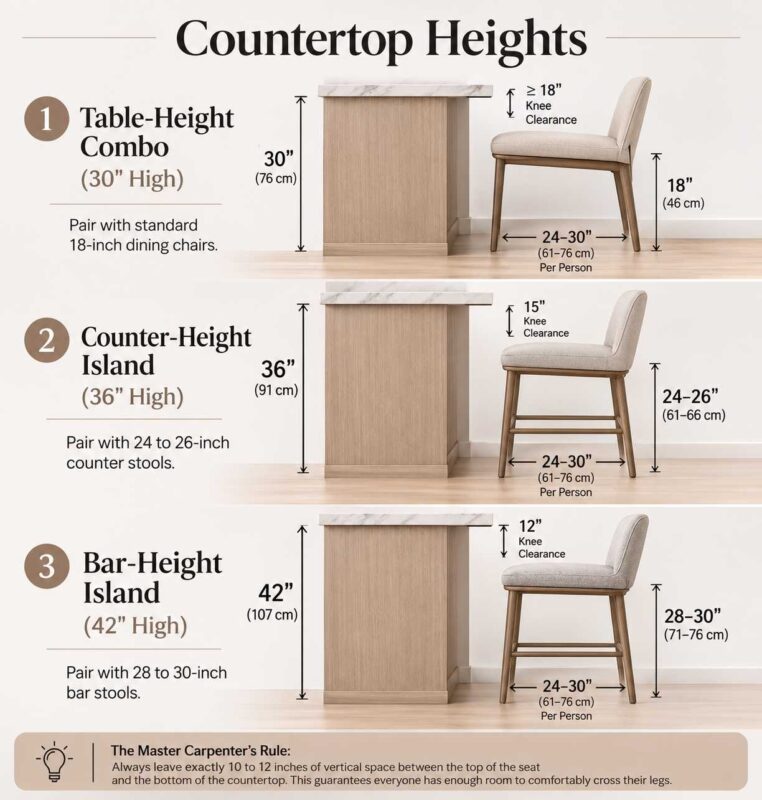
But width is only half the equation. Buying the wrong stool height is one of the most common mistakes homeowners make after finishing a beautiful kitchen. To ensure perfect ergonomics, your chair height and your knee clearance (the countertop overhang) must match your island’s height exactly:
- Table-Height Combo (30″ high): Pair with standard 18-inch dining chairs. Because you are sitting low, you will need at least 18 inches of knee clearance (overhang) underneath.
- Counter-Height Island (36″ high): Pair with 24 to 26-inch counter stools. You will need 15 inches of knee clearance.
- Bar-Height Island (42″ high): Pair with 28 to 30-inch bar stools. Because you sit higher and your legs drop down straighter, you only need 12 inches of knee clearance.
The Master Carpenter’s Rule: Always leave exactly 10 to 12 inches of vertical space between the top of the seat and the bottom of the countertop. This guarantees everyone has enough room to comfortably cross their legs without scuffing the beautiful back panels of your custom island.
The “Two-Drawer Test” for Clearances
Most generic guides tell you to leave 36 inches of walkway space around your island. In practice, 36 inches only allows one person to slide past sideways.
To find your true clearance, use the Two-Drawer Test: if you pull the kitchen drawer open, and someone simultaneously opens the island drawer right across from it, do they hit each other? To ensure smooth traffic and appliance doors that open fully, 42 to 48 inches of clearance is the true professional standard.
Spacing and Engineering Your Appliance Zones
If you plan to install a sink or a cooktop directly into the island, you cannot just drop it in the middle and hope for the best. Integrating appliances requires precise spatial and structural planning:
- The Landing Zone: You must leave a minimum of 18 to 24 inches of continuous countertop space on both sides of the appliance. You need this dedicated space to safely place hot pans off the stove or to stack dirty dishes next to the sink.
- The Splatter Zone (Safety Clearance): If you install a cooktop, never put seating directly behind it on a completely flat island. You must leave at least 9 to 12 inches of deep clearance behind the stove to protect seated guests from hot grease splatters. An even better expert solution is using a raised 42-inch bar on the seating side to act as a physical splash guard.
- The Hidden Core (Ventilation & Plumbing): Remember that island appliances require floor infrastructure. Sinks require trenching for plumbing, and island cooktops often require downdraft ventilation systems. Be aware that a downdraft motor will eat up the internal depth of your island cabinets, meaning you will lose those deep pots-and-pans drawers directly underneath the stove.
What Other Guides Won’t Tell You: 2 Structural Secrets
When you move from standard cabinets to high-end custom islands, you run into two major structural realities that require a proper factory setup.
Secret 1: The Jumbo Slab Limit
If you have a massive kitchen and want a 12-foot (144-inch) island, you will run into a material limit. Most natural stone and quartz slabs max out around 120 to 130 inches long.
If you do not plan for this, your beautiful island will have a highly visible, awkward seam right down the middle. A skilled designer will use multi-level heights (like the combo ideas above) or expert book-matching to intentionally break up the slab and hide the transition.
Secret 2: Engineering the Overhang
A 15-inch stone overhang for seating looks incredibly sleek. But stone is heavy, and it is brittle. Any stone overhang extending more than 12 inches cannot just float in the air—it will eventually crack if someone leans heavily on it.
This requires heavy-duty, concealed steel corbels routed directly into the cabinet frame before the countertop is ever installed.
Related Article: What is the Best Kitchen Countertop Material in 2026? (Honest Guide)

Build Your Island Factory-Direct with George Solution
Designing a kitchen island that perfectly balances dining space, walking clearances, and heavy structural loads is not a job for guesswork. Sourcing your cabinetry from a local shop without advanced engineering capabilities often leads to sagging countertops and cramped walkways.
At George Solution, we build precision directly into the foundation. As a premier source-factory manufacturer, our CNC machining ensures every cabinet box is flawlessly squared, and structural supports are built in from day one.
Whether you want a complex L-shaped booth combo or an expansive waterfall island, we engineer the exact dimensions to fit your kitchen’s footprint perfectly.
Because we operate factory-direct, you get architectural-grade custom cabinetry and seamless problem-solving without the traditional showroom markup. Explore our Custom Kitchen Cabinet solutions and let us help you build the true centerpiece of your home.
Frequently Asked Questions (FAQ)
Can I put an island in a small kitchen?
Yes, but you must respect the clearance rules. The absolute minimum size for a fixed prep island is 24 by 48 inches, provided you still have at least 36 inches of walking space around it. If your kitchen cannot fit that, a rolling butcher-block cart or an attached peninsula is a much better functional choice.
How much overhang do I need for seating at an island?
For comfortable seating where your knees do not hit the cabinet back, you need an overhang of 12 to 15 inches. If your countertop material extends past 12 inches, you will likely need hidden steel brackets installed inside the cabinetry to support the weight of the stone.
Should I put a sink or stove on my kitchen island?
Adding an appliance to your island is great for facing the room while you cook, but it requires careful planning. You must leave at least 18 to 24 inches of empty counter space on both sides of the sink or stove for food prep and safety.