

Taking on a bathroom renovation is incredibly exciting, but let’s be honest—it can also feel a bit overwhelming. When you are staring at beautiful tile samples and custom vanities, the last thing you want to worry about is a plumbing disaster or a blown budget.
The secret to keeping your stress levels low and your project on track isn’t just about choosing high-quality materials; it is about executing the work in the exact right order. A professional remodel follows a thoughtful “top-down, inside-out” sequence. This method is carefully designed to protect your new investments from being accidentally damaged by the next stage of work.
Whether you are working alongside a trusted contractor or managing the project yourself, this step-by-step guide will walk you through the industry-standard sequence for a beautiful, headache-free renovation.
Related article: How Much Does a Bathroom Remodel Cost? (2026 Budgeting Guide)
Phase 1: Pre-Construction Preparation
A truly seamless renovation is actually won before the first tile is ever removed. Rushing into demolition without having your materials on-site is the most common reason homeowners end up with an unusable bathroom for weeks on end. Taking a deep breath and completing these three preparatory steps will give you immense peace of mind.
1. Finalize the Design and Layout
Before anything is torn down, you need a clear vision of where every fixture will live. Take time to decide if you are keeping the existing plumbing footprint to save on costs, or if moving the shower and toilet will create a better daily flow for your family.
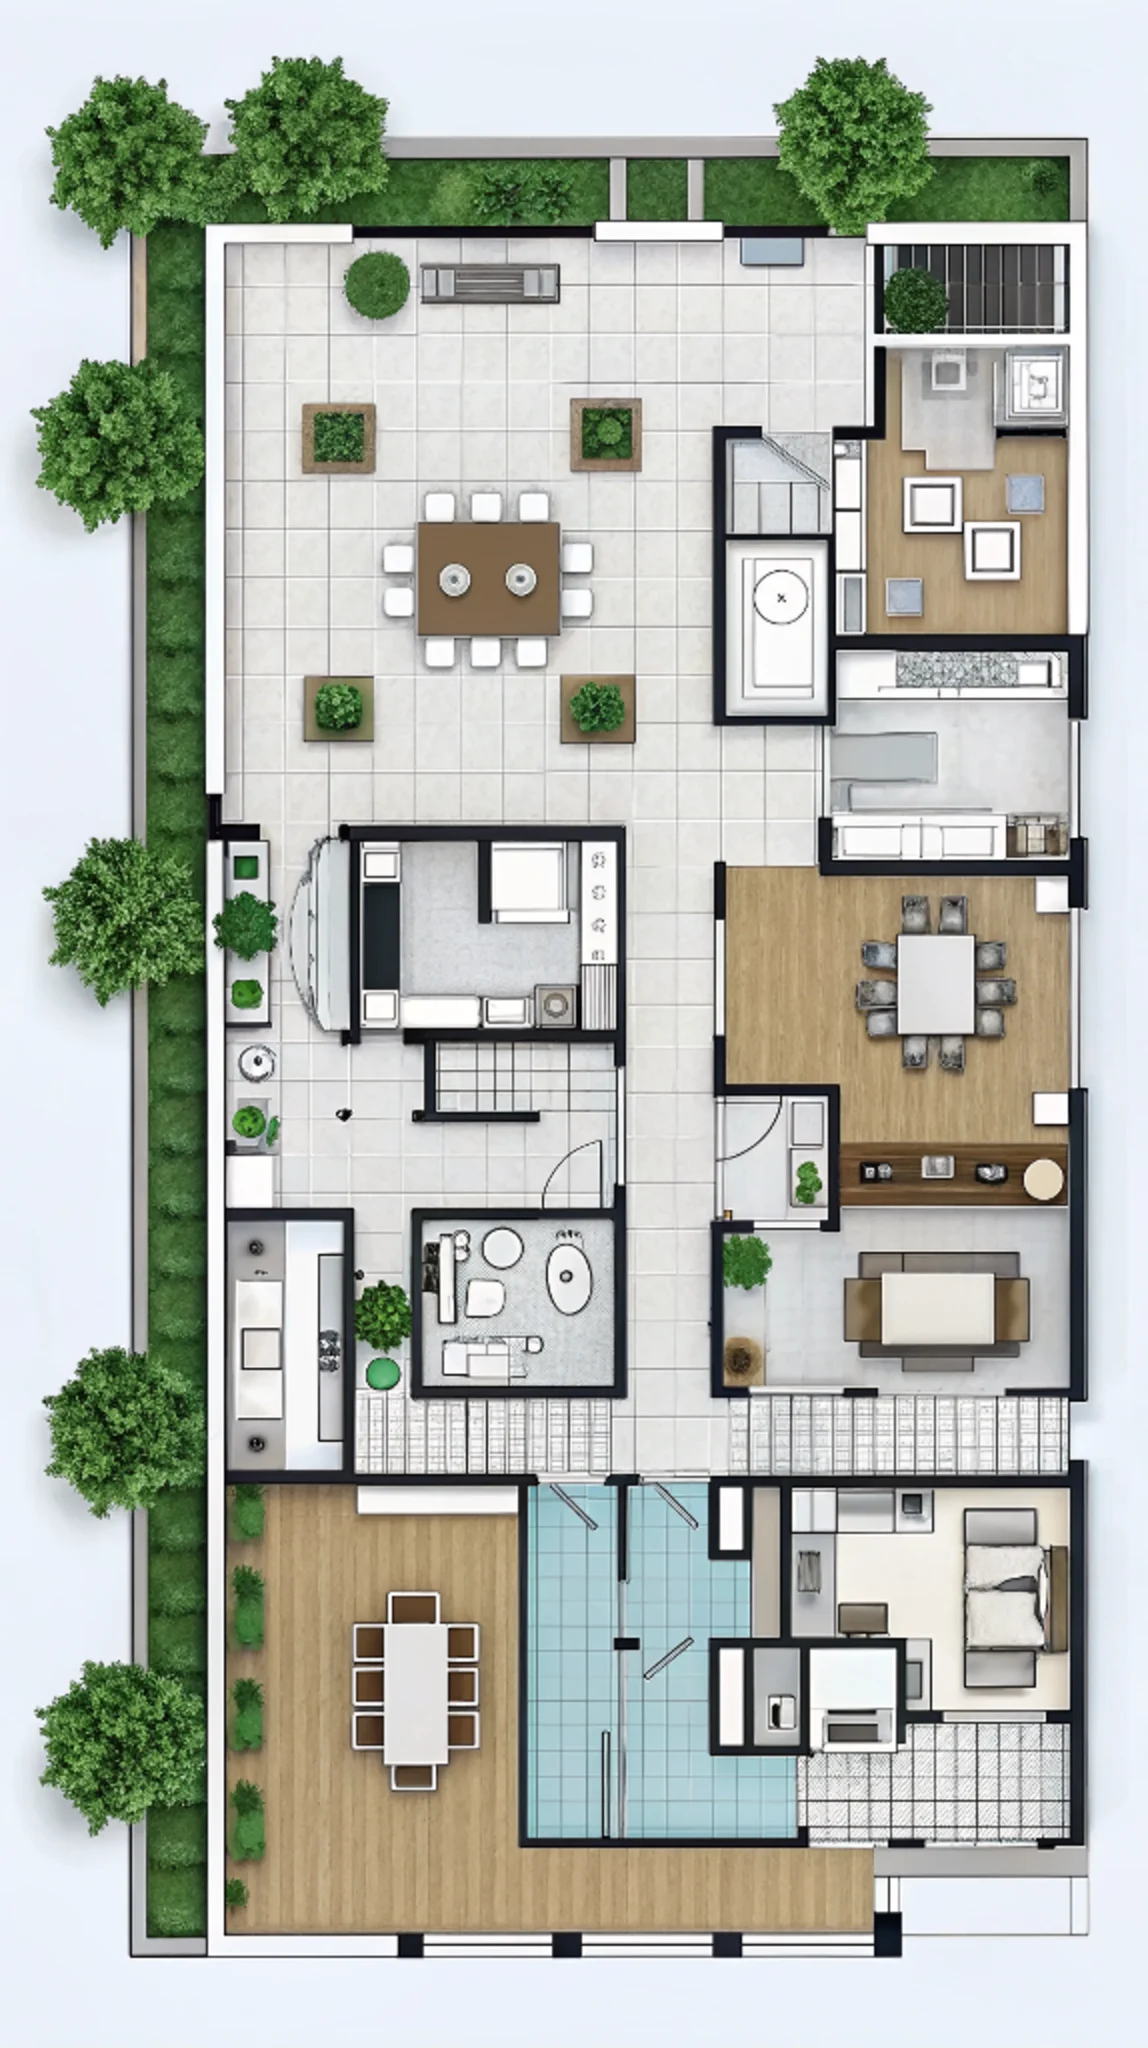
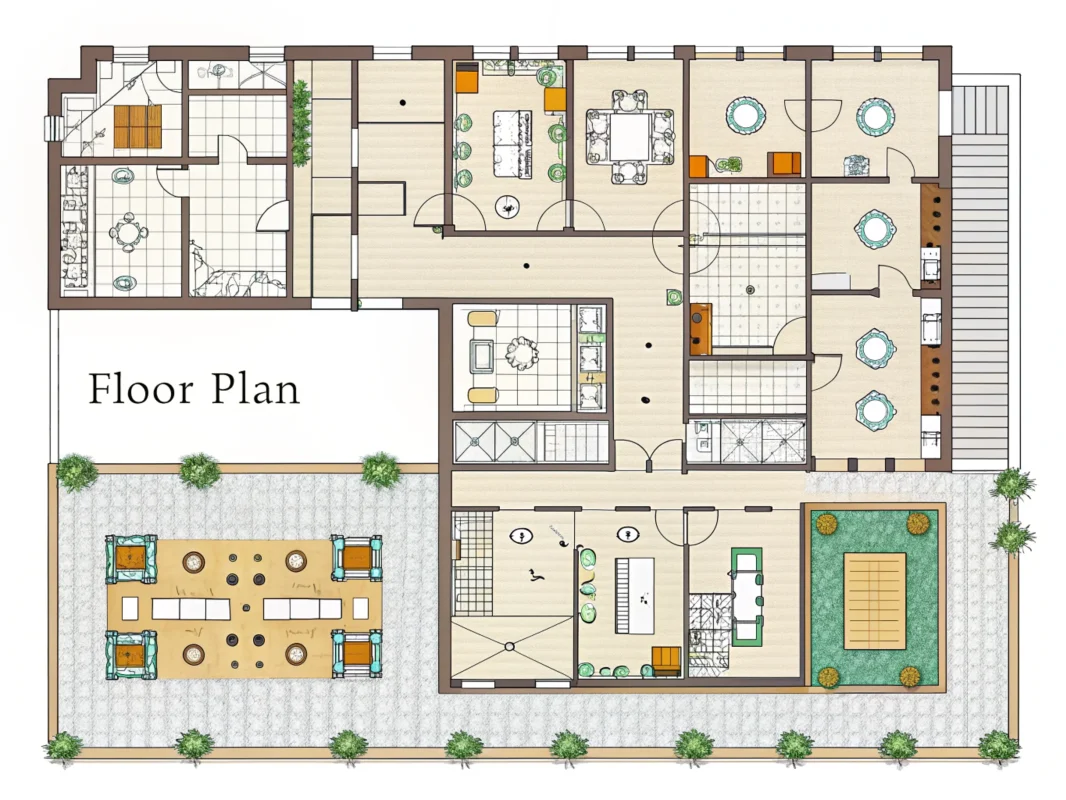
Creating a 3D rendering or a detailed floor plan at this stage is invaluable—it helps you visualize the space and confirms that your door swings, vanity depths, and toilet clearances perfectly meet building codes.
2. Secure Necessary Permits
Navigating local regulations might not be the most glamorous part of renovating, but it is absolutely essential. If your plans involve moving plumbing lines, altering electrical circuits, or taking down walls, you will likely need permits from your local building department. We recommend applying for these as early as possible, as municipal approvals can sometimes take a few weeks.
3. Order Materials Before Demolition
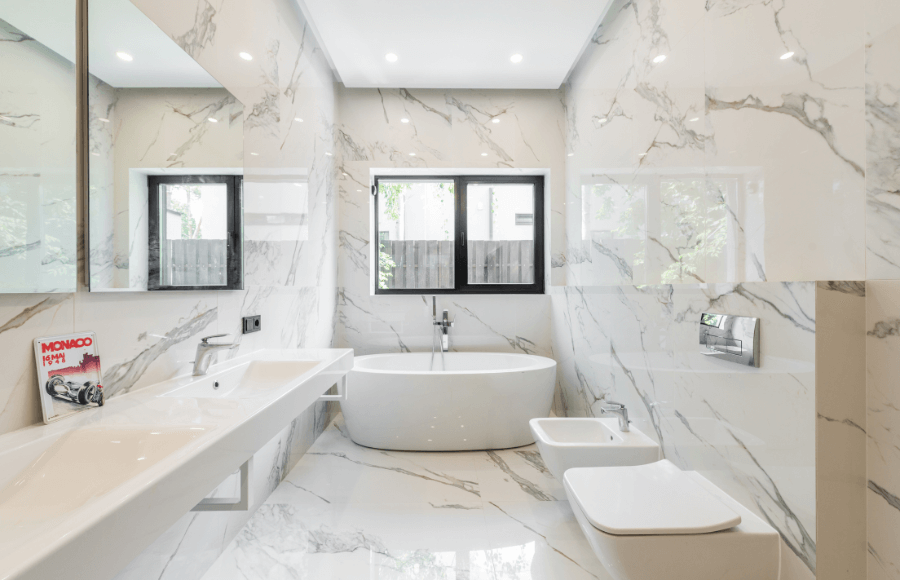
Here is a golden rule that will save you endless frustration: do not start breaking down walls until all your major materials have a guaranteed delivery date. Custom, high-quality items like bathroom vanities, large-format porcelain tiles, and freestanding bathtubs naturally require a bit of lead time. Having them ready ensures your contractor can work continuously.
Why One-Stop Planning Saves Time: Trying to coordinate multiple suppliers for your tiles, fixtures, and cabinetry can quickly become a full-time job, often leading to sizing mismatches and stressful delays.
At George Solution, we love making this process effortless for you. Our one-stop service syncs your 3D design, furniture dimensions, and plumbing layouts right from the start. We handle the consulting, design, and direct-to-site supply in one go, ensuring your team has exactly what they need, right when they need it.
Recommended Related Reading: From China to Your Home: A One-Stop Unveiling of the Entire High-End Home
Phase 2: The 8-Step Construction Sequence
Once your preparation is complete and your beautiful new materials are safely secured, it is time for the transformation to begin. Following this strict operational order will protect your home and ensure every detail shines.
Step 1: Demolition & Site Prep
This is where things get a little messy, but stripping the room down to a clean slate is incredibly satisfying. First things first, make sure the main water and power supplies are completely turned off—there is nothing worse than a surprise leak!
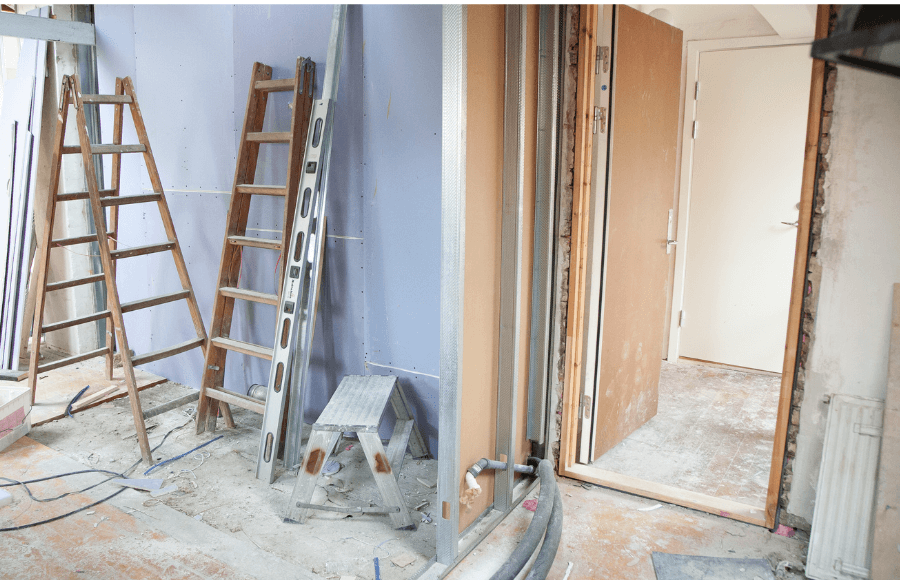
Then, carefully remove the old toilet, vanity, bathtub, and fixtures. As you tear out the old drywall and flooring down to the bare studs, take a moment to inspect the exposed framing. Checking for any hidden water damage or mold now allows you to replace compromised wood immediately, giving your new bathroom a healthy, solid foundation.
Step 2: First Fix (Rough-In Plumbing & Electrical)
In the construction world, we call this the “First Fix.” Think of it as installing the nervous system of your bathroom. With the walls open, you will route all the hidden utilities. New water supply lines are installed, drains are carefully repositioned, and the shower pan is set.
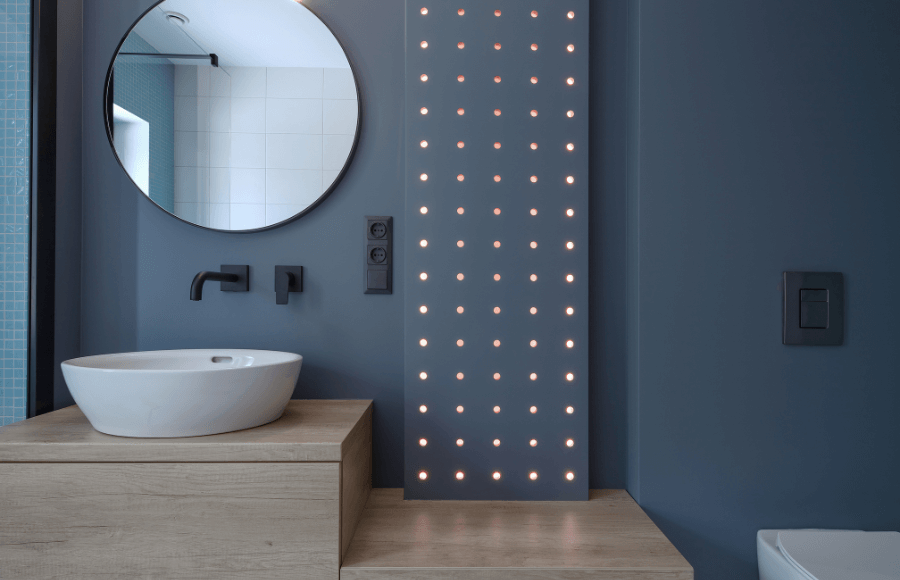
It is incredibly important right now to double-check the exact dimensions of your new vanity so the pipes align perfectly. At the same time, your electrician will run wiring for new outlets and lighting. If you are treating yourself to a modern Mirror with Lights, the dedicated electrical boxes need to go in now.
Crucially, before closing the walls, your plumber should perform a pressure test. It is a simple step that ensures there are absolutely no leaks hiding in the new pipework, saving you from potential heartbreak later.
Step 3: Drywall, Cement Board & Waterproofing
With the pressure test passed and the utilities safely tucked away, you can close the walls and build your moisture barrier. Standard areas get moisture-resistant drywall (often called green board), while wet zones like your shower and tub surround require sturdy cement board.
Applying a high-quality liquid waterproofing membrane over the cement board and shower pan is a step you should never skip. It acts as an invisible shield, protecting your home’s structure from rot and keeping your bathroom fresh for years to come.
Step 4: Top-Down Painting
It might seem a bit early to bring out the paint rollers, but professional contractors swear by a top-down approach. Painting the ceiling and walls with a moisture-resistant primer and two topcoats right now is a game-changer. Doing this before the tile and cabinetry arrive eliminates the tedious, stressful job of taping off and protecting your expensive new finishes from accidental paint splatters.
Step 5: Tile Installation
Now for the exciting part—watching the room truly take shape! Continuing with our top-down logic, the wall and shower tiles go up first. We highly recommend using large-format porcelain tiles; they beautifully reduce grout lines, giving you a visually expansive and wonderfully easy-to-clean space.
Only after the walls are finished should the floor tiles be laid. This thoughtful sequencing ensures that dropped trowels or heavy boots won’t accidentally scratch your pristine new floor. Once everything is set, grout is applied, allowed to cure, and carefully sealed to lock out moisture.
Step 6: Second Fix (Vanity & Countertops)
With the dusty, messy work officially behind you, it is time for the “Second Fix.” This is when your vision really comes to life. Once the floor is fully cured and protected, your brand-new bathroom vanity is set in place.
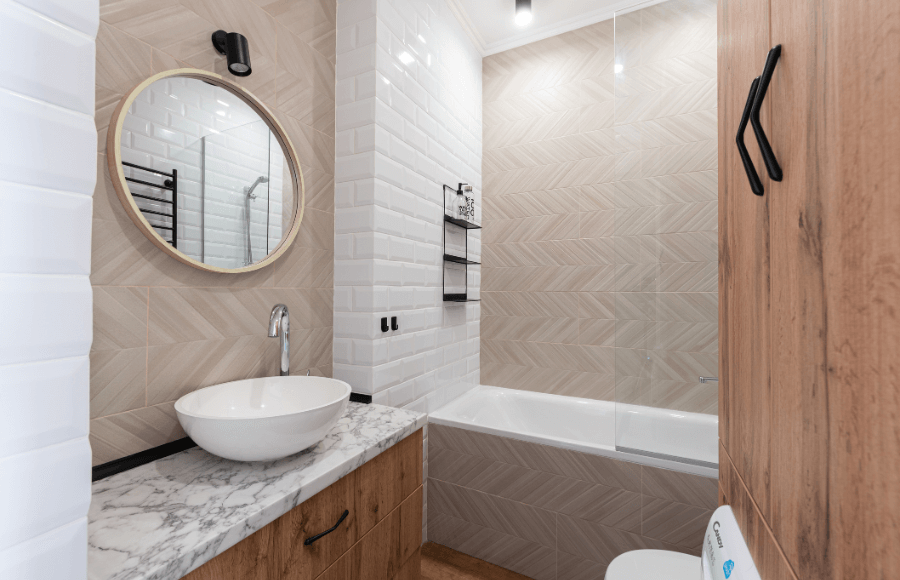
If you opted for a chic, wall-mounted floating vanity, it will be securely bolted to the reinforced studs you prepared back in Step 2. Finally, the countertop and sink are mounted and secured, bringing a real sense of elegance to the room.
Step 7: Plumbing Fixtures & Toilet
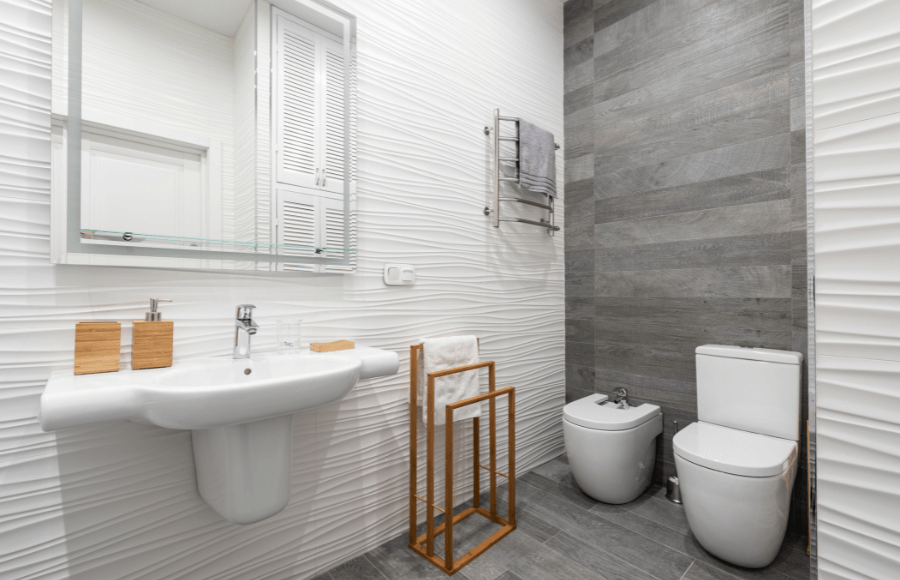
With the major elements beautifully installed, it is time to connect the functional hardware—the jewelry of the bathroom. The sink faucets, luxurious showerheads, and tub fillers are carefully installed, ensuring every connection is perfectly watertight.
The new toilet is gently set in place over the finished floor flange, sealed with a fresh wax ring, and bolted down firmly (but gently, to avoid cracking the porcelain) before connecting the water supply.
Step 8: Accessories, Snagging & Final Polish
You are almost at the finish line! The final step is all about the finishing touches and ensuring everything is absolutely perfect. Wall sconces, your illuminated mirror, towel bars, and sleek toilet paper holders are mounted. Next, do a walkthrough for a “snagging list”—a professional term for catching tiny defects like a stray paint mark or a slightly uneven line of grout.
Once those tiny snags are smoothed out, high-quality silicone caulk is applied around the vanity, toilet base, and shower corners to completely weatherproof the room. After a deep final clean, your breathtaking new bathroom is finally ready for you to enjoy.
Conclusion: Creating Your Sanctuary, The Right Way
A truly successful bathroom renovation isn’t just about beautiful finishes; it is about the peace of mind that comes from knowing the job was done right. By meticulously planning your layout, securing your materials early, and respecting this proven top-down construction sequence, you protect your home and avoid the stress of costly rework.
We know that navigating timelines, double-checking measurements, and ensuring everything fits perfectly between the First and Second Fix can still feel like a lot to juggle. That is exactly why partnering with a comprehensive supplier makes all the difference.
From crafting custom vanities and supplying high-end tiles to precision lighting, George Solution is here to provide not just premium materials, but the upfront planning and support you need. We want your project to finish beautifully, on time, and exactly as you dreamed it.
Reach out to our design experts today, and let’s start planning your next seamless renovation together.
Frequently Asked Questions
Do you tile the floor or walls first in a bathroom?
Professional contractors always recommend tiling the walls first, followed by the floor. This top-down approach ensures that dropped tools, heavy boots, or spilled mortar do not scratch or damage your brand-new floor tiles during the wall installation.
Should I install the bathroom vanity before or after tiling?
You should always install your bathroom vanity after the floor tiles have been laid and fully cured. Tiling under the vanity ensures a waterproof barrier across the entire floor, protects the wood cabinetry from moisture, and makes it much easier to change your vanity in the future without having to patch the floor.
Can I keep my old plumbing during a bathroom remodel?
If your home is relatively new and you are keeping the exact same layout, you can often retain the existing plumbing to save money. However, if your pipes are older than 20 years, or if you are moving the location of the shower or toilet, updating the plumbing during the “First Fix” phase is crucial. Closing old, worn-out pipes behind brand-new beautiful tiles is a risky move that could lead to devastating leaks.
How long does a full bathroom renovation actually take?
A standard full bathroom renovation typically takes between 3 to 4 weeks once the demolition begins, assuming all your materials are already on-site. Custom layouts or moving major plumbing lines can extend this to 5 or 6 weeks. The key to a fast remodel is ensuring all tiles, vanities, and fixtures are delivered before you swing the first hammer.