

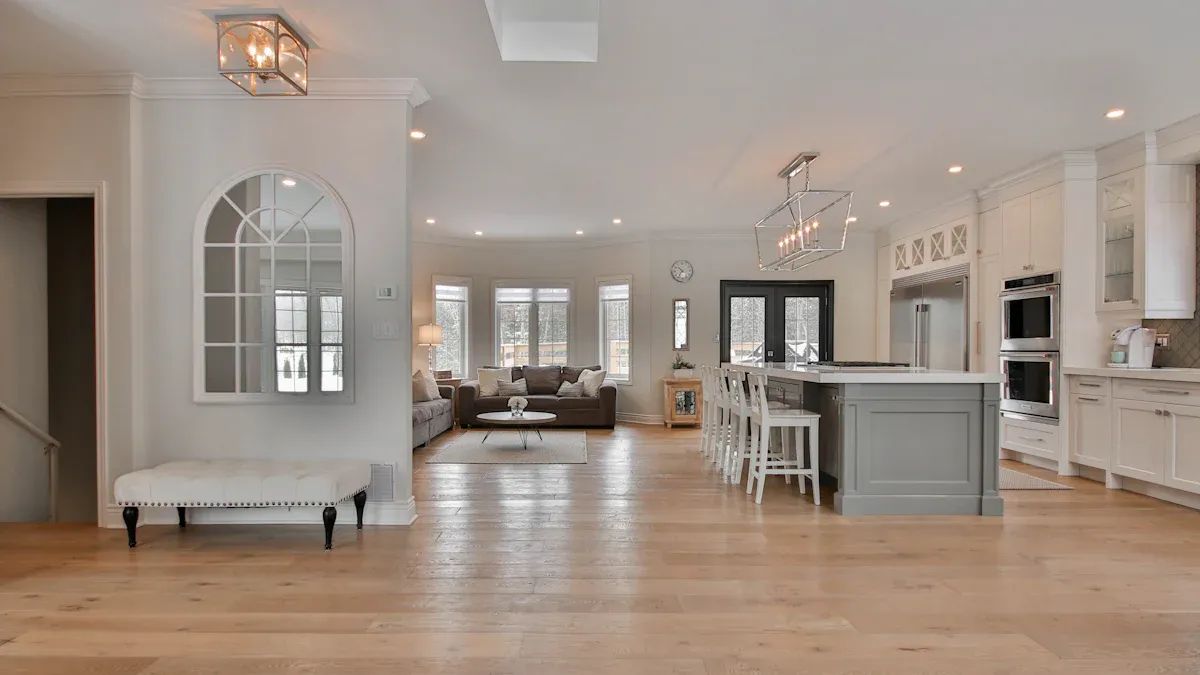
The appeal of natural wood is undeniable; it brings a soft, organic warmth to any interior. However, from an architectural and longevity standpoint, traditional wood flooring carries inherent liabilities. It is notoriously vulnerable to moisture, lacks heavy-duty wear resistance, and engineered wood options frequently raise indoor air quality concerns due to formaldehyde-based adhesives.
These structural flaws often force homeowners and designers to compromise—forcing them to choose between the aesthetic they love and the durability they need. Enter porcelain wood-look tiles: a modern surfacing solution designed to bridge this exact gap. In this blog, we will analyze the pros and cons, applications, and maintenance of wood-look tiles to help you gain a deeper understanding of them and make an informed choice.
Executive Summary: Wood look tiles offer the aesthetic warmth of natural wood combined with the structural resilience of ceramic or porcelain. Designed for heavy daily use, this flooring solution eliminates the strict maintenance requirements of traditional hardwood, making it a highly practical choice for modern households and commercial spaces alike. This guide breaks down the core benefits, compares the material against popular alternatives, and outlines the essential installation rules needed to achieve a flawless finish.
What Are Wood-Look Tiles?
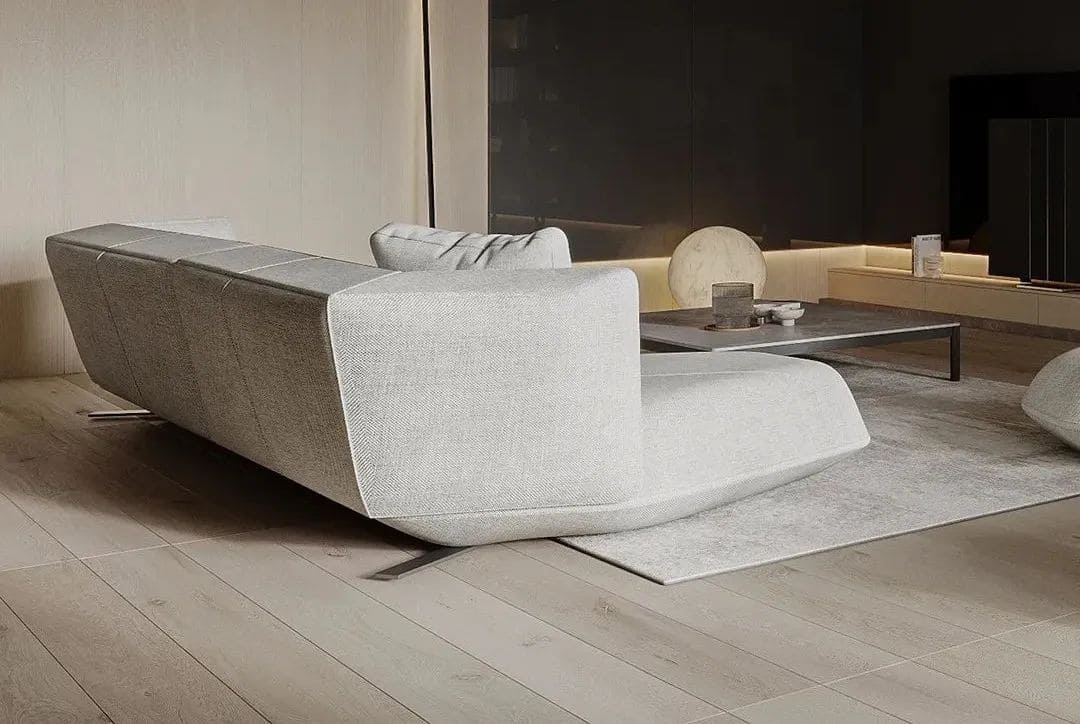
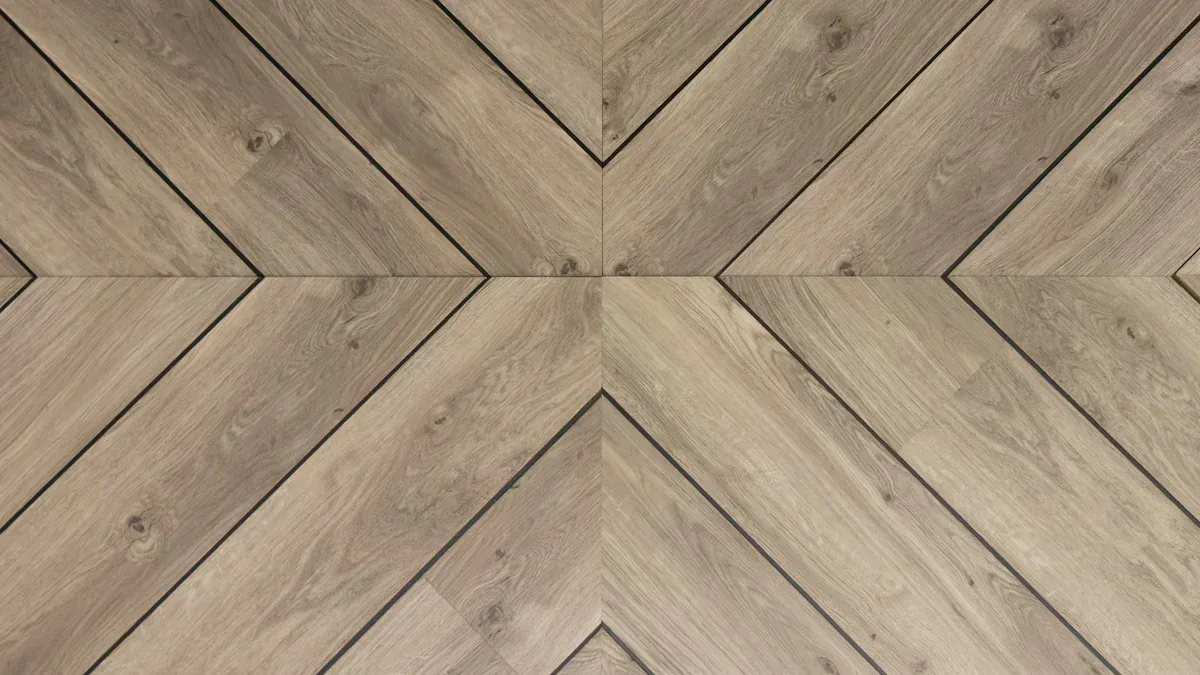
At their core, wood-look tiles are high-density porcelain tiles engineered with ultra-realistic, crisp wood grain patterns. Available in matte, glossy, and satin finishes, they replicate the tactile and visual warmth of timber while completely outperforming it in structural resilience.
A common misconception is that because they are tiles, their use is restricted to utilitarian or specific zones. In reality, their application is virtually limitless. They offer a seamless transition from formal living rooms, dining spaces, and cozy bedrooms to high-moisture environments like kitchens, luxury bathrooms, basements, and even exterior courtyards.
Unlike natural wood floors, these tiles are not restricted by their environment. They will never suffer from wear, moisture rot, corrosion, fading, or warping. Instead, they are manufactured to be 100% waterproof, flame-retardant, and environmentally friendly (zero VOCs).
By combining the high aesthetic appeal of natural timber with the heavy-duty engineering of premium ceramic, wood-look tiles have quickly become one of the most specified flooring materials in modern builds.
Why Choose Wood Look Tiles Over Traditional Floors?
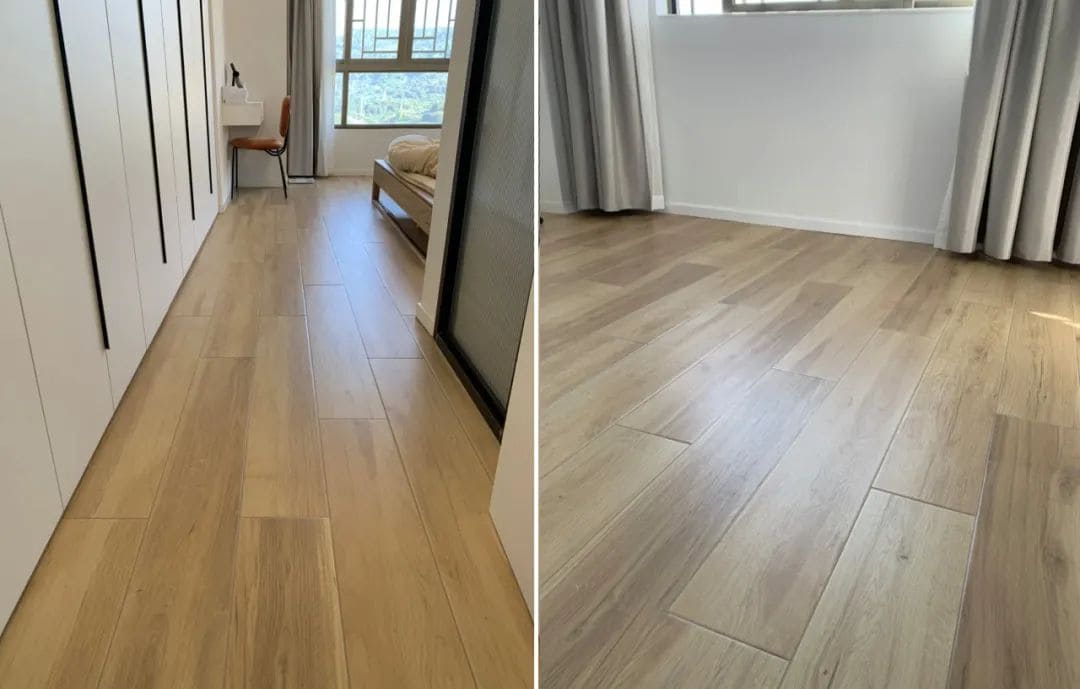
Wood look tiles are engineered to solve the most common frustrations associated with traditional flooring. Modern manufacturing techniques allow these tiles to replicate the natural grain and tactile feel of real wood while maintaining the physical advantages of high-density porcelain.
Exceptional Durability
Porcelain wood look tiles boast an average lifespan of 25 to 50 years. Their dense structure easily resists scratches, dents, and fading from direct sunlight. Unlike natural wood, they are impervious to pests like termites and can withstand heavy residential or commercial foot traffic without losing their finish.
Absolute Water Resistance
Because porcelain is virtually non-porous, these tiles will not warp, swell, or stain when exposed to standing water or high humidity. This complete moisture resistance prevents mold and mildew growth, making them a superior choice for wet environments.
Effortless Maintenance
There is no need for specialized cleaners, sanding, sealing, or polishing. Routine sweeping and occasional mopping are sufficient to maintain their original appearance, significantly lowering long-term upkeep costs.
What Are the Drawbacks You Should Consider?
While highly durable, porcelain tile has distinct physical characteristics that may not suit every environment or comfort preference. Knowing these limitations helps in planning the right space.
Temperature and Comfort
Tiles are naturally cold and hard underfoot. Standing on them for long periods can cause foot fatigue, and they lack the acoustic softening properties of real wood.
The Fix: Tile is an exceptional thermal conductor, making it the perfect pairing for underfloor radiant heating systems. Adding area rugs in living spaces also easily mitigates the hardness.
Grout Line Maintenance
Unlike the seamless tongue-and-groove fit of real wood, tiles require grout. If not planned correctly, prominent light-colored grout lines will immediately break the illusion of a hardwood floor and can trap dirt over time.
How Do Wood Look Tiles Compare to the Alternatives?
When evaluating flooring, you are likely weighing wood look tiles against the authentic material they mimic or against budget-friendly synthetic alternatives. Here is how they stack up.
Wood Look Tile vs. Natural Hardwood
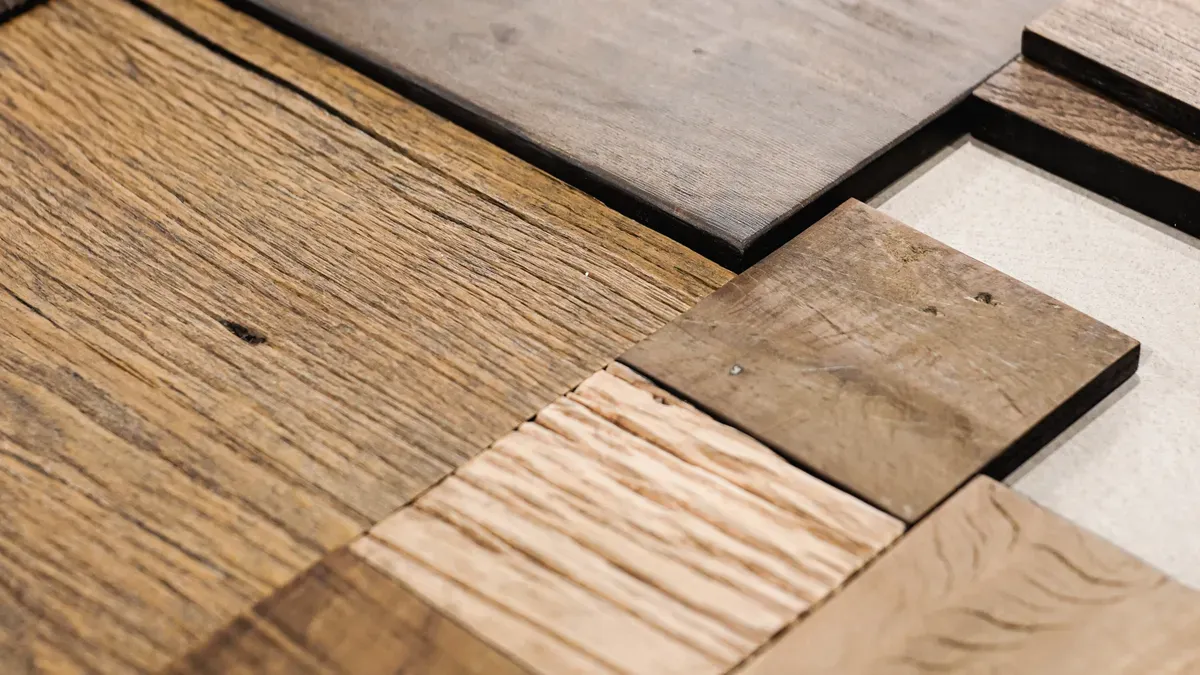
This is the classic debate between authentic tradition and modern engineering. Hardwood offers undeniable natural warmth and a high return on investment since it can be sanded and refinished multiple times.
However, it dents easily under heavy furniture and warps instantly if exposed to moisture. Wood look tile is a “set-it-and-forget-it” material. It delivers the visual warmth of oak or walnut but acts as an impenetrable shield against water, pets, and daily wear.
Wood Look Tile vs. Luxury Vinyl Plank (LVP) & Laminate
LVP and laminate are budget-friendly, softer underfoot, and designed with “click-and-lock” systems that appeal to DIYers. While LVP claims to be waterproof, water can still seep through the click-joints and trap mold against the subfloor.
Porcelain tile, once properly grouted and sealed, creates a truly impermeable structural barrier. Furthermore, porcelain offers unmatched scratch resistance, boasting a lifespan two to three times longer than synthetic planks.
Related article: Polished vs. Glazed Porcelain Tiles for Commercial & Luxury Builds
| Feature | Porcelain Wood Look Tile | Solid Hardwood | LVP / Laminate |
| Water Resistance | Exceptional (100% Waterproof) | Low (Prone to swelling) | Moderate to High |
| Scratch & Dent Resistance | High | Low to Moderate | Moderate |
| Maintenance Level | Minimal (Sweep & mop) | High (Requires refinishing) | Low |
| Lifespan | 25 – 50+ Years | 30 – 100+ Years | 10 – 20 Years |
| Installation Difficulty | High (Requires leveling) | High (Nail/glue down) | Low (DIY friendly) |
Recommended reading:What Is Metallic Tile? Everything You Need to Know Before You Buy
Where Do Wood Look Tiles Perform Best?
Matching the material to the room’s function ensures you get the most value out of the flooring. Beyond the standard kitchens and bathrooms, wood look tiles open up incredible design possibilities that real wood simply cannot handle.
- The Seamless Indoor-Outdoor Flow: A major trend in modern architecture is extending the indoor living space out to the patio or pool deck. Natural hardwood cannot survive outdoors. Wood look porcelain, however, can be laid continuously from the living room straight through the patio doors to the exterior, creating a massive, uninterrupted visual space.
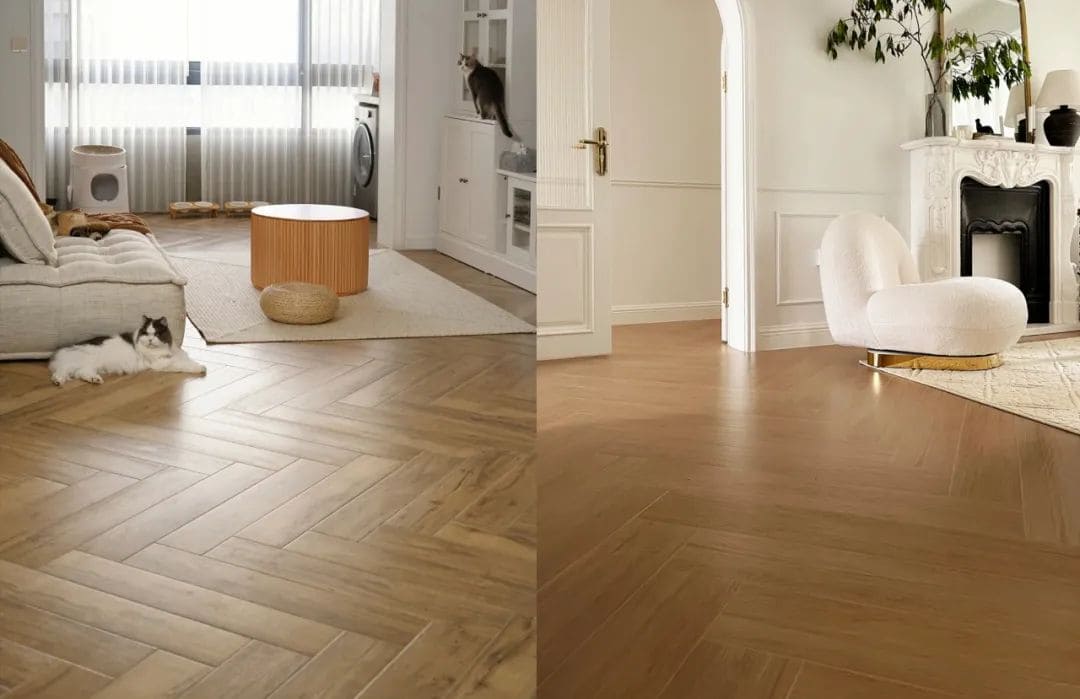
- Luxury Layouts Without the Warp: High-end patterns like Herringbone (人字拼) or Chevron (鱼骨拼) look stunning in natural wood, but they require cutting many small pieces, which increases material waste and the risk of the wood buckling over time. Wood look tiles allow you to achieve these intricate, luxurious patterns with absolute structural stability.
- High-Traffic and Wet Zones: They are the ultimate solution for entryways, laundry rooms, and homes with pets. Claws will not scratch the surface, and muddy footprints wipe away effortlessly.
How Do You Ensure a Flawless Installation?
Choosing the material is only half the job. Getting the installation right determines whether your floor looks like authentic hardwood or an artificial grid. Because wood look tiles are manufactured in long planks, they introduce unique structural challenges.
- The Subfloor Must Be Flawless: Unlike real wood or vinyl, long porcelain planks are completely rigid. They will not bend to accommodate dips in the floor. A perfectly leveled subfloor is mandatory to prevent the tiles from cracking or shifting under heavy loads.
- The 1/3 Offset Rule (Preventing Lippage): During the kiln firing process, long porcelain planks naturally develop a very slight bow in the center. If you install them in a standard 50/50 brick pattern, the highest point of one tile will sit next to the lowest point of another, creating sharp, uneven edges (lippage). Always specify a maximum offset of 33% (a 1/3 stagger) or a random stagger to ensure a flat surface.
- Mastering the Grout Illusion: Specify rectified tiles (laser-cut edges) and use the narrowest grout joint allowable (typically 1/16″ to 1/8″). Avoid light-colored grout at all costs. Choose a dark grout that matches the darkest grain in the tile; this mimics the natural shadows found between real wood planks and hides dirt over time.
- Managing Expansion and Movement: Proper expansion joints are critical, especially in large commercial spans or areas exposed to direct sunlight. Skipping perimeter expansion gaps can lead to tiles lifting or cracking over time as the building naturally shifts.
How Do You Keep Wood Look Tiles Looking Brand New?
One of the greatest engineering advantages of porcelain wood look tiles is their effortless upkeep. Unlike natural hardwood, you will never need to sand, re-stain, or polish these floors. However, “low maintenance” does not mean “zero maintenance.” Here is the professional protocol to protect your investment over the next few decades:
- Routine Cleaning with pH-Neutral Solutions: Because porcelain is non-porous, dirt and spills stay on the surface. Regular sweeping or vacuuming (using a hard-floor setting to avoid scratching) followed by mopping with warm water and a mild, pH-neutral tile cleaner is all that is required.
- Avoid Waxes and Oil-Based Detergents: This is a common mistake homeowners make when transitioning from real wood to wood look tile. Never use oil-based soaps or floor waxes. Because porcelain cannot absorb these products, they simply sit on the surface, creating a cloudy, sticky film that actually attracts more dirt.
- Protect the Weak Link (The Grout): The porcelain tile itself is practically bulletproof, but standard cement-based grout is porous. To keep the floor looking like a seamless hardwood surface, the grout must be maintained. We highly recommend sealing the grout lines immediately after installation and resealing them every 1 to 2 years. If a spill occurs, wipe it up quickly so it does not seep into the grout joints. (Pro Tip: Upgrading to epoxy grout during installation eliminates the need for future sealing altogether).
- Skip the Abrasives: Avoid using steel wool, harsh scouring pads, or abrasive cleaning powders. While porcelain is incredibly scratch-resistant, aggressive scrubbing with harsh materials can dull the realistic embossed finish over time.
Frequently Asked Questions
Can wood look tiles be installed outdoors?
Yes. Porcelain tiles are highly resistant to temperature fluctuations and moisture. If installing outdoors, ensure you select a product with a high slip-resistance rating (such as a textured or matte finish) for patios or pool decks to prevent slipping when wet.
Do wood look tiles work with underfloor heating?
Absolutely. Tile is one of the best thermal conductors available. Pairing wood look tiles with a radiant heating system completely eliminates the “cold floor” issue, giving you the aesthetic of wood with the comfort of a heated surface.
Will the color fade over time?
No. High-quality porcelain wood look tiles are UV-resistant. The color and digital grain patterns are baked into the glaze at extreme temperatures, meaning they will remain vibrant even in rooms exposed to heavy, direct sunlight.
Bringing It All Together: The Ultimate Flooring Investment
Choosing the right flooring is a delicate balance between architectural ambition and practical engineering. Porcelain wood look tiles successfully bridge that gap, offering the timeless warmth of natural timber without the fragile maintenance and water-damage risks of real wood.
Whether you are extending a luxury living space to the outdoors, laying a durable foundation for a commercial lobby, or simply building a stress-free family home, they deliver uncompromising performance.
However, as this guide highlights, the material is only as good as its execution. Achieving that flawless, natural wood illusion relies heavily on precision installation and, most importantly, a reliable supply chain. Sourcing tiles internationally should not be a gamble on noticeable shade variations or poor factory calibration.
At George Solution, we do not just ship boxes of tile—we deliver a fully integrated, quality-controlled architectural package. As your one-stop building material partner, our on-site teams rigorously inspect every batch before it leaves the factory. We guarantee color consistency, laser-precise calibration, and consolidated shipping for your premium flooring, custom cabinetry, and fenestration.
Ready to specify the perfect material for your next build? Contact the George Solution project team today, and let’s engineer a flawless finish together.