

If you look above the upper cabinets in a standard kitchen, you will usually find a 12-to-18-inch gap. Visually, it cuts the room in half. Practically, it becomes a magnet for sticky, impossible-to-clean cooking grease.
This is exactly why floor-to-ceiling kitchen cabinets have become the ultimate marker of a high-end remodel. But before you commit to tearing out your old kitchen, here is an honest look at the undeniable benefits, how to design them properly, and the manufacturing realities you need to know.
The Undeniable Benefits: Why Choose Floor to Ceiling Kitchen Cabinet?
Taking your cabinetry to the ceiling isn’t just a stylistic choice; it fundamentally upgrades how your kitchen operates.
Maximized Storage Capacity
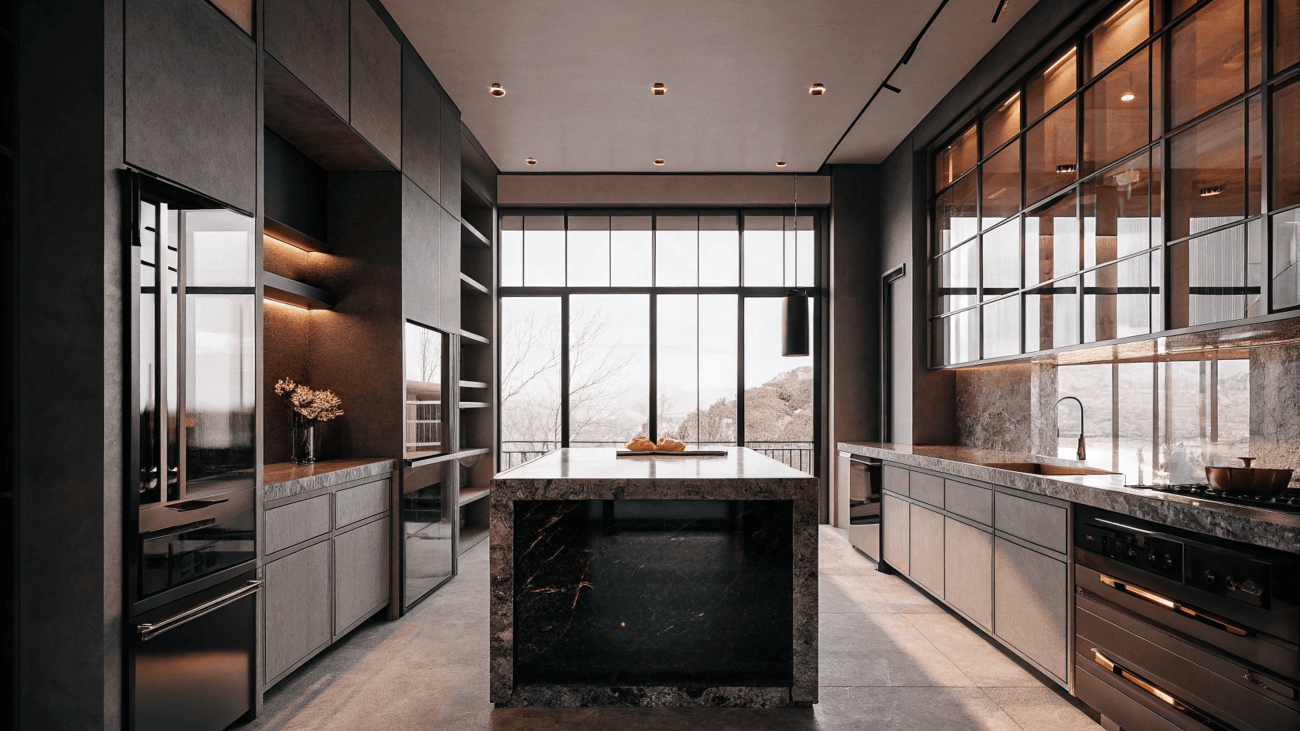
By capturing that top 12 to 18 inches of vertical real estate, you increase your total storage volume by up to 40%. Think about the bulky air fryers, holiday roasting pans, and bulk paper goods that usually clutter your lower cabinets.
Extending your cabinetry gives you a dedicated home for these oversized, rarely used items, functioning essentially as a built-in pantry. For smaller homes, this is the absolute smartest way to keep your daily workflow zones and countertops entirely clutter-free.
A Zero-Dust, Sanitary Environment
If you have ever wiped down the top ledge of a standard kitchen cabinet, you know it is a nightmare of sticky, polymerized cooking grease and settled dust. By extending the cabinet box and crown molding flush to the ceiling, you eliminate this dead zone completely.
There is simply nowhere for pet hair, dust, or airborne grease to settle, which permanently crosses a grueling chore off your deep-cleaning checklist and keeps your kitchen much more sanitary.
Built-In Architectural Elegance
Standard upper cabinets often look like heavy wooden boxes bolted to a wall. Floor-to-ceiling cabinetry, on the other hand, looks like it was engineered with the architecture of the house.
The continuous, unbroken vertical lines draw the eye upward, creating a brilliant optical illusion that makes standard 8-foot ceilings feel significantly taller. It instantly elevates the room from a basic, builder-grade workspace into a premium, custom-designed interior that adds tangible resale value to the property.
4 Ways to Design Full-Height Cabinetry
Every kitchen is different in terms of style themes, design priorities and space. When you strategically place tall cabinets, they can serve entirely different functional purposes depending on your lifestyle.
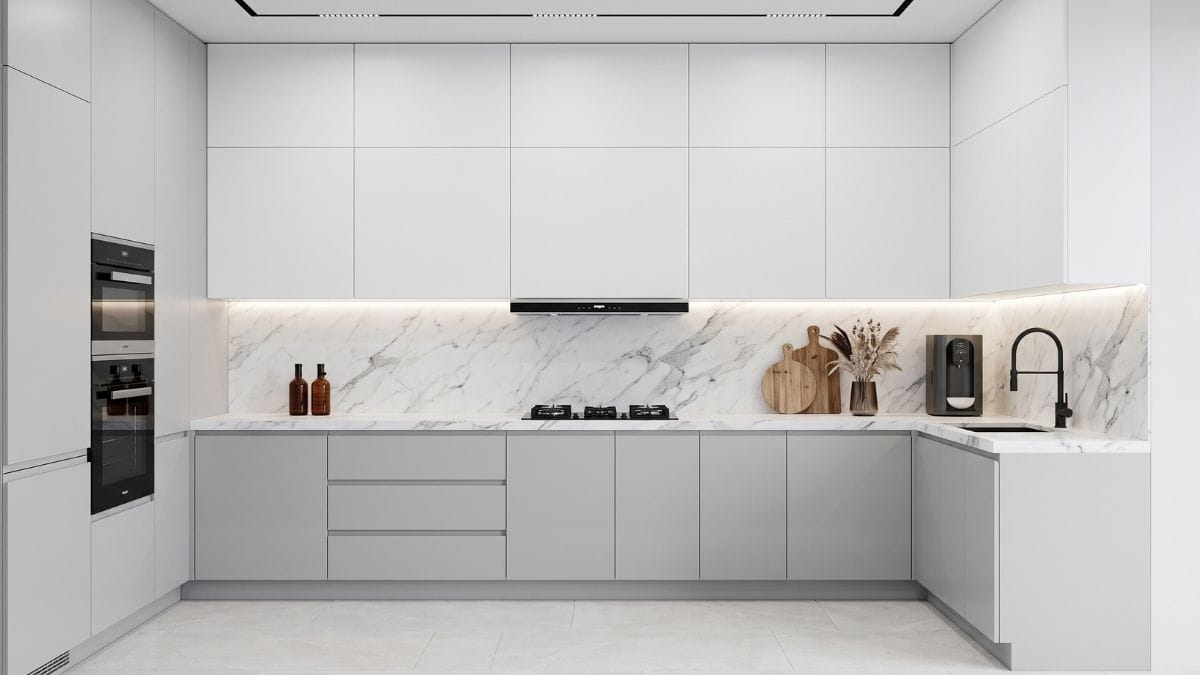
The Architectural Handleless Wall
For a sleek, modern aesthetic, smooth cabinet fronts extend from floor to ceiling, creating an elegant, architectural appearance. By using concealed handles and integrated panel-ready appliances, the kitchen stops looking like a workspace and feels like a natural extension of the living room.
The Classic Shaker Larder
Traditional shaker cabinetry isn’t limited to standard wall units. Building full-height larder cupboards offers massive storage while maintaining the character and warmth of a classic shaker kitchen.
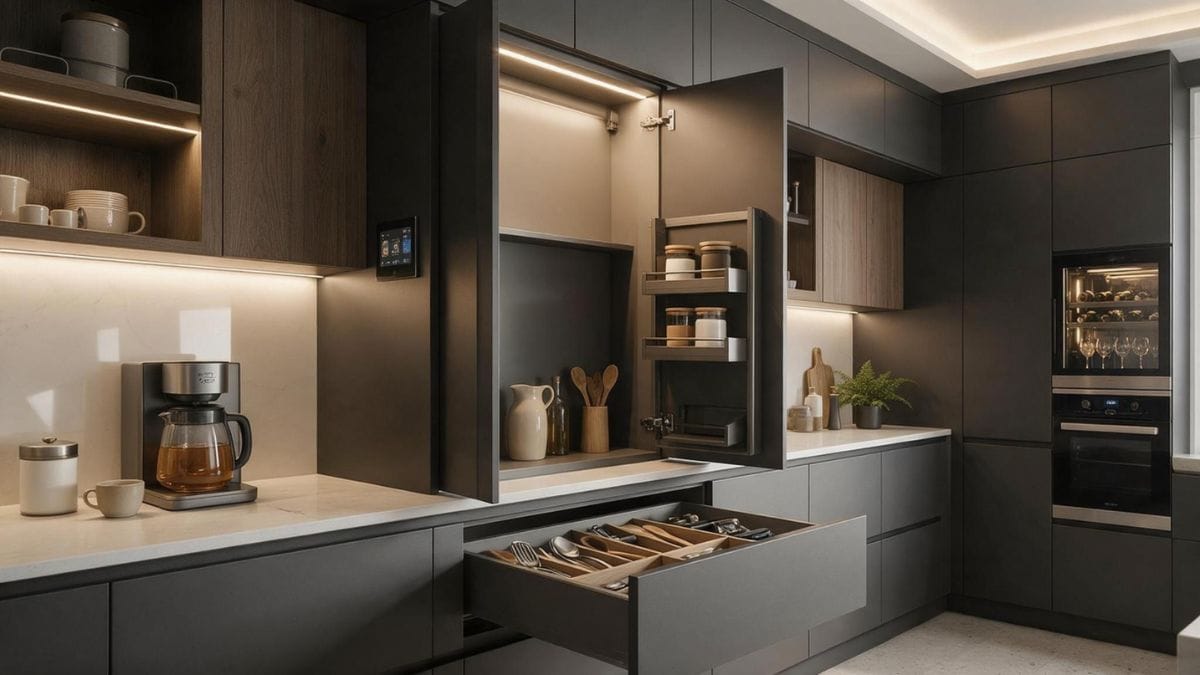
The Hidden Appliance Garage
Appliance garages and full-height cupboards allow kettles, coffee machines, toasters and other everyday appliances to be hidden behind closed doors when they’re not in use.
The Heavy-Duty Statement Pantry
A dedicated pantry cupboard built into full-height cabinetry provides optimal organization for dried goods, heavy spices, baking ingredients and breakfast essentials.
The Drawbacks and Manufacturing Realities
Online inspiration photos make these designs look effortless. But when you move from rendering to reality, there are a few visual drawbacks and structural secrets you need to account for.
The “Warehouse Effect” in Small Spaces
While maximizing storage sounds amazing, wrapping a small or narrow kitchen entirely in solid, floor-to-ceiling wood is usually a mistake. It can create a heavy, claustrophobic feeling that visually shrinks the room.
In most cases, floor-to-ceiling cabinets should be used in one or two strategic spots, rather than being a feature throughout your kitchen. To keep the space breathing, break up tall cabinets with open shelving or glass-front uppers to help the units feel less overwhelming.
The Myth of the Perfectly Flat Ceiling
Many homeowners assume the top of the cabinet will just sit flush against the drywall. In reality, houses settle, and ceilings are rarely perfectly level. If you push a square cabinet against an uneven ceiling, you end up with an awkward, wedge-shaped gap.
A true custom build incorporates scribe moldings (wood meticulously shaved to the ceiling’s exact curve) or modern shadow gaps to absorb those architectural inconsistencies flawlessly.
The 8-Foot Board Limit
If you have 9-foot or 10-foot ceilings, it is tempting to order massive, single doors that reach the very top. However, standard MDF and plywood sheets max out at 96 inches (8 feet).
A single wooden door that tall is highly susceptible to warping and bowing as seasonal humidity changes. The professional approach is to build “Stacked Cabinets”—mounting a smaller 18-inch upper cabinet directly on top of a standard 36-inch upper.
How to Actually Live with Tall Cabinets
Having storage that extends all the way to the ceiling is only practical if you organize it according to how often you use each item. We recommend dividing your vertical storage space into zones based on your daily routines and accessibility needs.
Store heavy cast-iron skillets and countertop appliances in lower cabinets or full-extension drawers, ideally below 54 inches, where they are easier and safer to access. The area between 54 and 77 inches is your primary everyday storage zone. Keep frequently used items such as dinner plates, bowls, pantry staples, and coffee mugs here.
Anything above 78 inches can serve as a seasonal storage zone.
Since these shelves typically require a step stool to access, reserve them for items you rarely use, such as holiday serving platters, bulk paper towels, or decorative pieces displayed behind glass. This way, you can maximize vertical storage without sacrificing everyday convenience.
Source Factory-Direct Precision with George Solution
Floor-to-ceiling cabinetry leaves zero room for manufacturing errors. A cabinet box that is out of square by just a fraction of an inch at the bottom will result in an unfixable gap by the time it reaches the ceiling.
At George Solution, we eliminate that guesswork. As a premier source-factory manufacturer, our advanced CNC machining ensures absolute millimeter precision for every stacked tier and scribe molding. We engineer solutions for high ceilings, uneven drywall, and complex appliance garages long before the cabinets leave our facility.
By working directly with the factory, you achieve architectural-grade, floor-to-ceiling perfection without the traditional showroom markup. Explore our Custom Kitchen Cabinet solutions, and let us help you maximize your kitchen’s true potential.
Frequently Asked Questions (FAQ)
Can I do floor-to-ceiling cabinets with a 10-foot ceiling?
Yes, but you should not use a single cabinet door. For a 10-foot ceiling, the professional approach is to use a stacked cabinet configuration (mounting a smaller cabinet directly on top of a standard upper). This prevents the tall wood doors from warping over time and maintains structural stability.
Will tall cabinets make my small kitchen feel cramped?
They can, especially if you use entirely solid, dark wood doors. To prevent a small kitchen from feeling like a claustrophobic box, use light-colored finishes, incorporate glass-front doors on the topmost tier, and install interior LED cabinet lighting to keep the space feeling open and airy.
How do you fix the gap if the ceiling is not level?
Professional installers never leave an uneven gap. Depending on your kitchen’s style, a true custom build will use a classic multi-piece crown molding, a meticulously cut wooden scribe molding for a flush look, or a modern shadow gap (a deliberate recessed line) that makes the uneven ceiling completely unnoticeable.