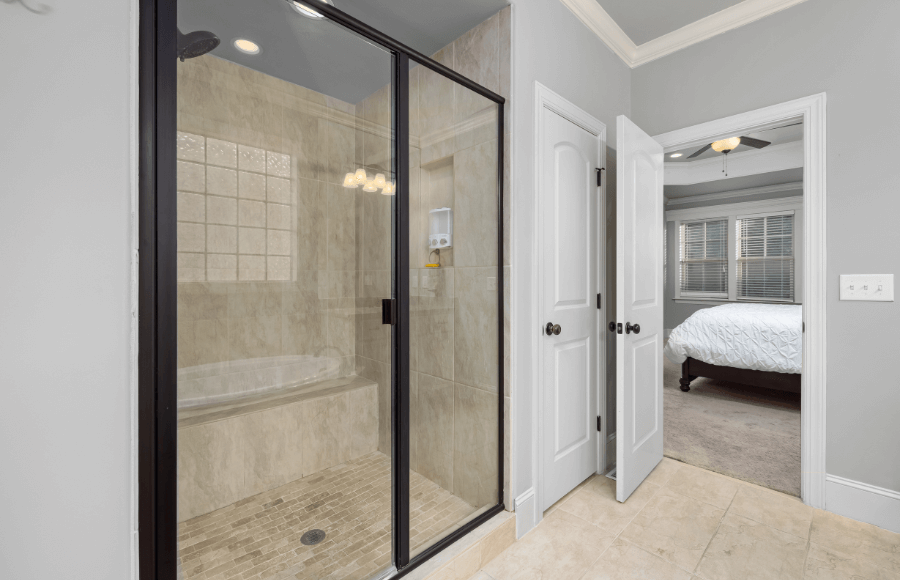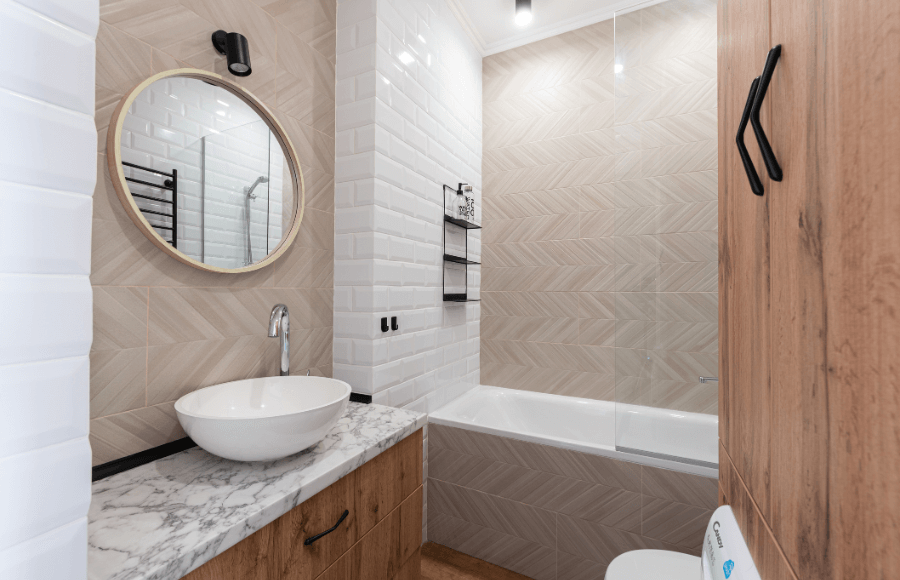


Painting your bathtub and shower yourself is a rewarding, budget-friendly project that transforms your bathroom into a fresh, modern space. This guide provides a step-by-step overview, covering essential tools like foam rollers and sandpaper, detailed preparation and painting techniques, safety tips, and practical maintenance advice to achieve a beautiful, durable finish.
Tools and Materials for DIY Bathtub and Shower Painting
Before you start, gather all the necessary tools and materials. Having everything prepared in advance ensures a neater finish and a smoother process. We’ve included extra details on why each tool is important and some alternatives if needed.
Essential Tools
- Foam Brushes and Rollers
Foam brushes are ideal for edges and corners, helping to avoid visible brush marks.
Use a high-density foam roller (e.g., FoamPro Finish 2-inch roller) on larger, flat areas for an even coat.
Extra Tip: Consider using different sizes of foam rollers for detailed work versus large surface areas. - Sandpaper (220-400 Grit)
Sanding creates a slightly roughened surface that improves paint adhesion.
Fine grits (around 220) are perfect for initial sanding and between coats.
Alternative: If you prefer less dust, consider using a sanding block with a built-in vacuum feature. - Painter’s Tape and Utility Knife
Painter’s tape protects surfaces you don’t want to paint, ensuring crisp lines around fixtures.
A utility knife helps trim the tape neatly for professional results.
Pro Tip: Use a high-quality tape like FrogTape® to minimize bleeding and ensure clean edges. - Drop Cloth and Tack Cloth
A drop cloth safeguards your floor and nearby surfaces from spills, while a tack cloth removes dust after sanding.
Keeping the workspace clean is key to avoiding imperfections in your finish.
Recommended Materials
- Refinishing Kit (e.g., Rust-Oleum Tub & Tile Refinishing Kit)
This kit includes all the essential items for a DIY bathtub refinish and is designed to simplify the process. - Paint Options
Acrylic polymer paints are recommended for their durability, shine, and resistance to cracking.
(Note: Acrylic polymers are water-based, making them safer and more environmentally friendly.)
For metal tubs, acrylic urethane enamel offers excellent adhesion and long-lasting results.
Extra Insight: Always check the manufacturer’s guidelines to ensure compatibility with your bathtub material.
Safety Equipment
- Respirator Mask
Always wear a respirator mask (preferably an organic vapor mask) to protect against harmful fumes generated during the process. - Protective Gloves and Clothing
Use chemical-resistant gloves and long-sleeved clothing to safeguard your skin from harsh chemicals and splatters. - Ventilation Tools
Ensure proper airflow by using fans and opening windows to reduce fumes and create a safe working environment.
Tip: Safety gear is as essential as the tools. Investing in proper protection not only keeps you safe but also enhances your overall experience.
Recommended Related Reading: Whole House Customization: The Ultimate Guide
Preparation Steps for Bathtub and Shower Painting
Proper preparation is crucial to ensure the new paint adheres well and lasts for years. The following detailed steps will help you set the stage for a successful project.
Cleaning and Fixing the Surface
Begin by thoroughly cleaning the bathtub and shower.
Use a gentle cleaner to remove soap scum, mildew, and dirt—pay special attention to corners where grime accumulates.
Remove any old caulk with a utility knife to create a uniform surface for the new paint.
Inspect the surface for cracks or chips.
Fill these imperfections with a suitable bathtub filler, smooth with a putty knife, and lightly sand once dry.
This step not only improves appearance but also prevents moisture from seeping into small gaps.
Sanding and Taping
Sand the entire surface using 220-400 grit sandpaper in circular motions to enhance paint adhesion.
After sanding, thoroughly wipe away the dust with a tack cloth to leave a clean, smooth base.
Use painter’s tape to protect edges, fixtures, and drains.
This ensures that you maintain clean lines and prevents accidental paint smudging.
Remember to remove the tape immediately after the final coat to avoid peeling.
Preparing the Workspace
Lay down a drop cloth on the floor and surrounding areas to protect against spills.
Secure the cloth with tape so it doesn’t shift during the project.
Enhance your workspace with ample ventilation by opening windows or using fans, which is critical for dispersing fumes and ensuring safe working conditions.
Extra Tip: Organize your tools and materials nearby for easy access, reducing interruptions during the painting process.
How to Paint a Bathtub and Shower
With your workspace set up and the surface properly prepped, you’re ready to start painting. Follow these steps for a smooth, professional finish.
Mixing and Applying Paint
If your refinishing kit includes a two-part epoxy, open both components and mix them in a larger container.
Stir thoroughly for at least five minutes to achieve a uniform blend and reduce drips during application.
Apply the paint using your foam roller on large, flat surfaces for an even coat, while a foam brush works best for edges and corners.
This combination ensures a seamless finish without visible brush marks.
Application Techniques
Apply the paint in thin, even layers rather than thick coats.
Thinner layers dry more uniformly and help prevent drips or uneven patches.
Allow approximately one hour between coats to let each layer set properly.
Blend the edges of each coat carefully to avoid visible lines.
Using smooth strokes and consistent pressure will give you a refined, professional look.
Drying and Curing
Let the painted surface dry for 4-6 hours until it’s touch-dry.
Even if it feels dry, wait at least 24 hours before using the tub or shower, and ideally avoid any water exposure for up to three days to ensure complete curing.
Tip: Temperature and humidity can affect drying times. Adjust your schedule if conditions are warmer or more humid than usual.
Recommended Related Reading: How much does a custom bathtub cost?
Cost Breakdown and Maintenance Tips
A detailed look at the costs involved and how to maintain your new finish will help you decide if this project is right for you.
Cost Comparison
DIY bathtub painting can be very budget-friendly, costing between $30 and $200 depending on whether you already own some tools. In contrast, professional refinishing typically runs between $500 and $750.
Cost Comparison Table:
Bathtub Painting
DIY: $150 – $200
Professional: $500 – $750
For those considering alternatives, you might explore a premium option like a Custom Bathtub. This high-quality, tailor-made solution from George Solution not only enhances your bathroom’s aesthetic appeal but also offers long-lasting durability, potentially reducing the need for frequent maintenance and repairs.
Maintenance Tips
Regular care is key to extending the life of your newly painted surface.
Clean gently with non-abrasive materials—a soft sponge and mild detergent are best to prevent scratching.
Avoid harsh chemicals like bleach that can damage the finish over time.
Repair any chips or scratches immediately to prevent them from expanding.
Consider designating the painted bathtub to less frequently used areas, such as guest bathrooms, to reduce wear and tear.
A quick annual wipe-down with a soft cloth and mild soap can go a long way in preserving the finish.
Extra Tip: Scheduling periodic maintenance can help you catch minor issues before they become major problems, ensuring your bathtub continues to look fresh and clean for years.
Conclusion
Painting your bathtub and shower is a rewarding DIY project that not only saves you money but also gives your bathroom a modern, refreshed look.
This comprehensive guide covers every step—from gathering tools and materials, meticulous preparation, detailed painting techniques, to cost breakdown and maintenance tips—to ensure your success.
Take your time, follow the steps carefully, and enjoy the transformation of your bathroom! With a bit of effort and proper preparation, you’ll achieve a finish that’s both beautiful and durable. Happy painting!